Over 20 years of manufacturing shower products in the USA

Adjustable Bench

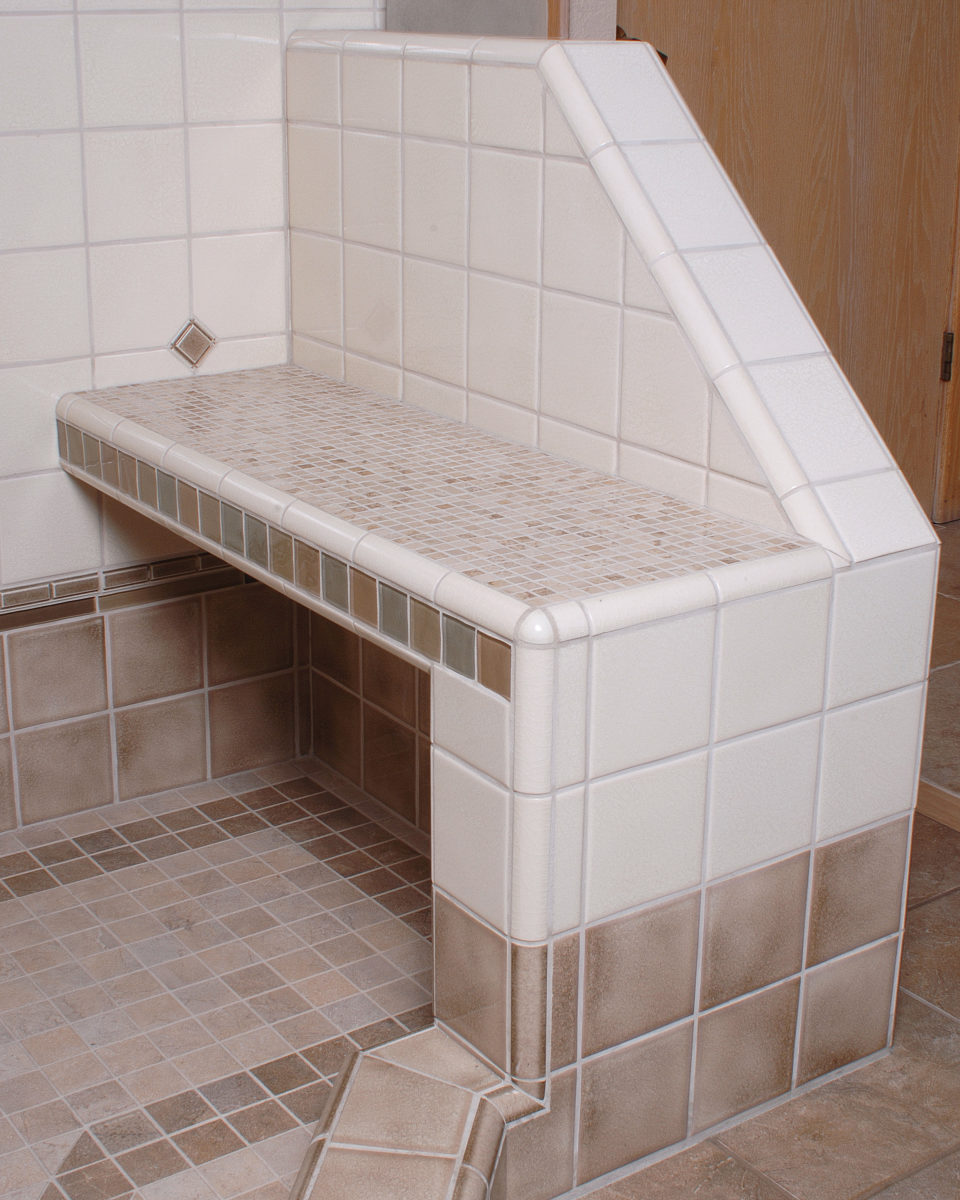
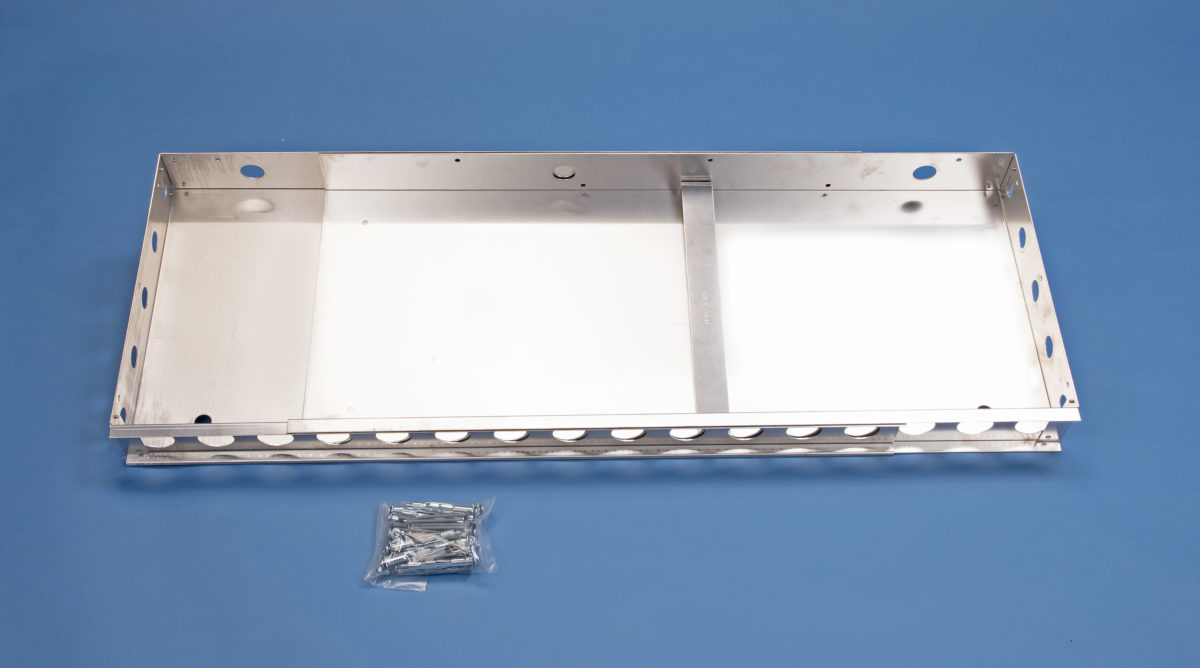
Designed to fit any shower, big or small!  The Adjustable Bench system easily adapts to your design needs!

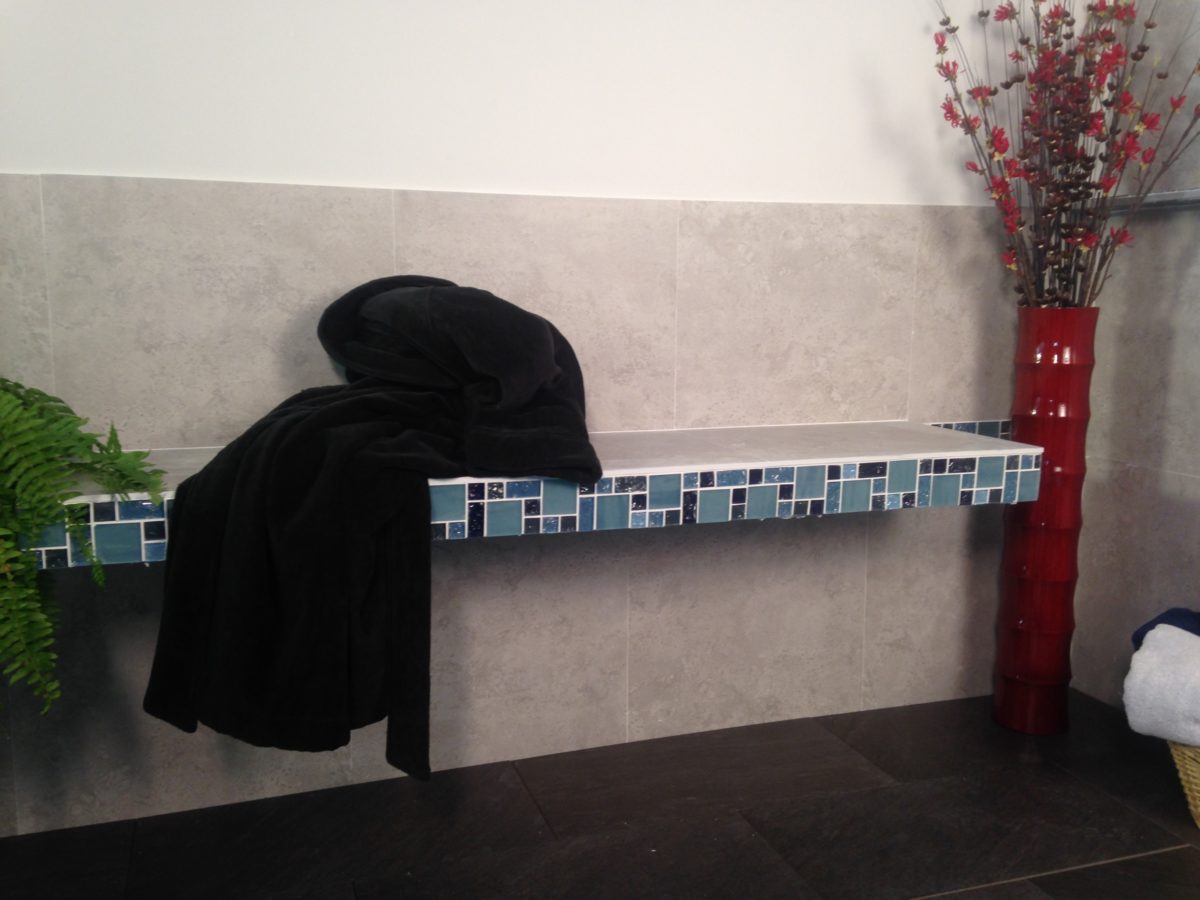
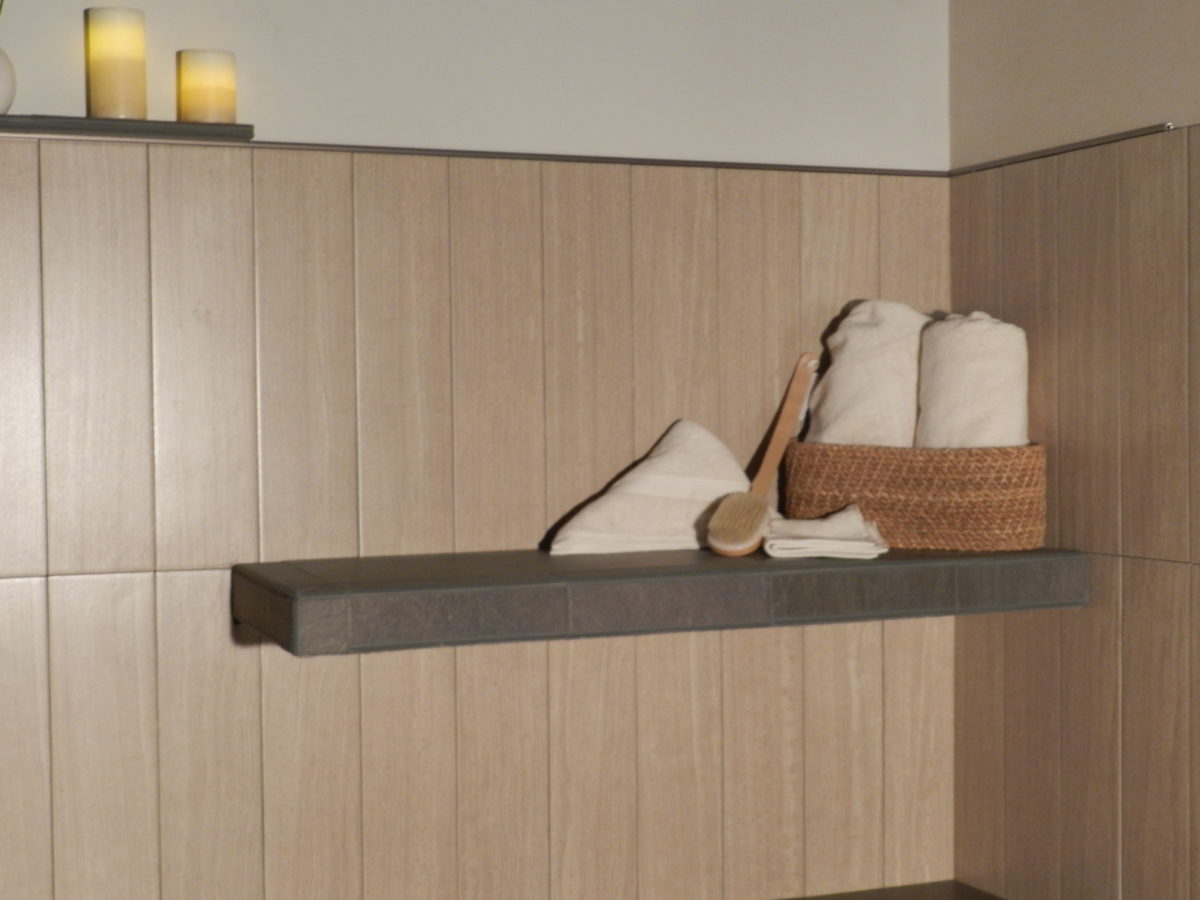
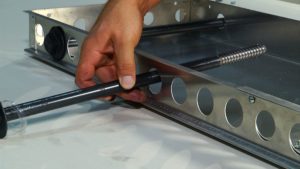
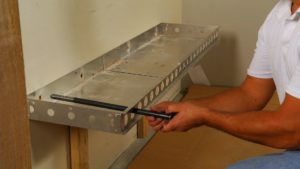
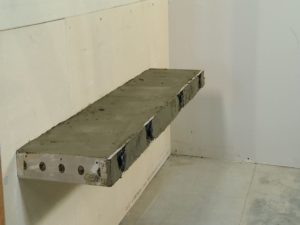
With our Invisabolt support system, you can now have a free-floating bench at any length desired!

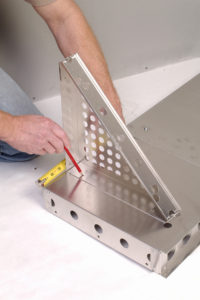
The bench pictured above is expanded to its full length (63″) and is only attached to the back wall, using four Invisabolts.


INTRODUCING OUR NEW, SMALLER ADJUSTABLE BENCH, THE R26 ADJR

This new version of the static R26 bench now expands from 19″-32″

With everything you love about the larger adjustable bench, we introduce a smaller version to bring more adaptability to all your smaller spaces!  This bench also has a weight load capacity of 400 LBS and can be used with either the BT-17S or the Invisabolt support systems.

TO DETERMINE SUPPORT REQUIREMENT FOR THE R26 ADJR :

This unit may be mounted on THREE (3) support walls WITHOUT any additional support or blocking being necessary*.  TWO (2) wall installation with one end of the bench “open” requires the use of either a BT-17S (SOLD SEPARATELY) OR (1) Invisabolt (SOLD SEPARATELY) with 4×6 minimum wood blocking.  A “FREE FLOATING” Installation (without any side wall connection) will REQUIRE (2) Invisabolts with 4×6 minimum wood blocking for the full length of the bench.

* USE OF FOAM BOARD AS A SUBSTRATE WILL REQUIRE A MINIMUM 2×4 WOOD BACKING TO BE INSTALLED TO PROVIDE FASTENER SUPPORT AT ALL CONNECTING LOCATIONS, INCLUDING BT-17S LOCATIONS, IF APPLICABLE.


____________________________________________________

ADJUSTABLE BENCH UP TO 63″

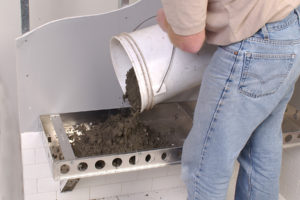
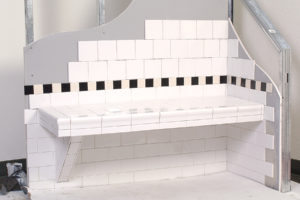
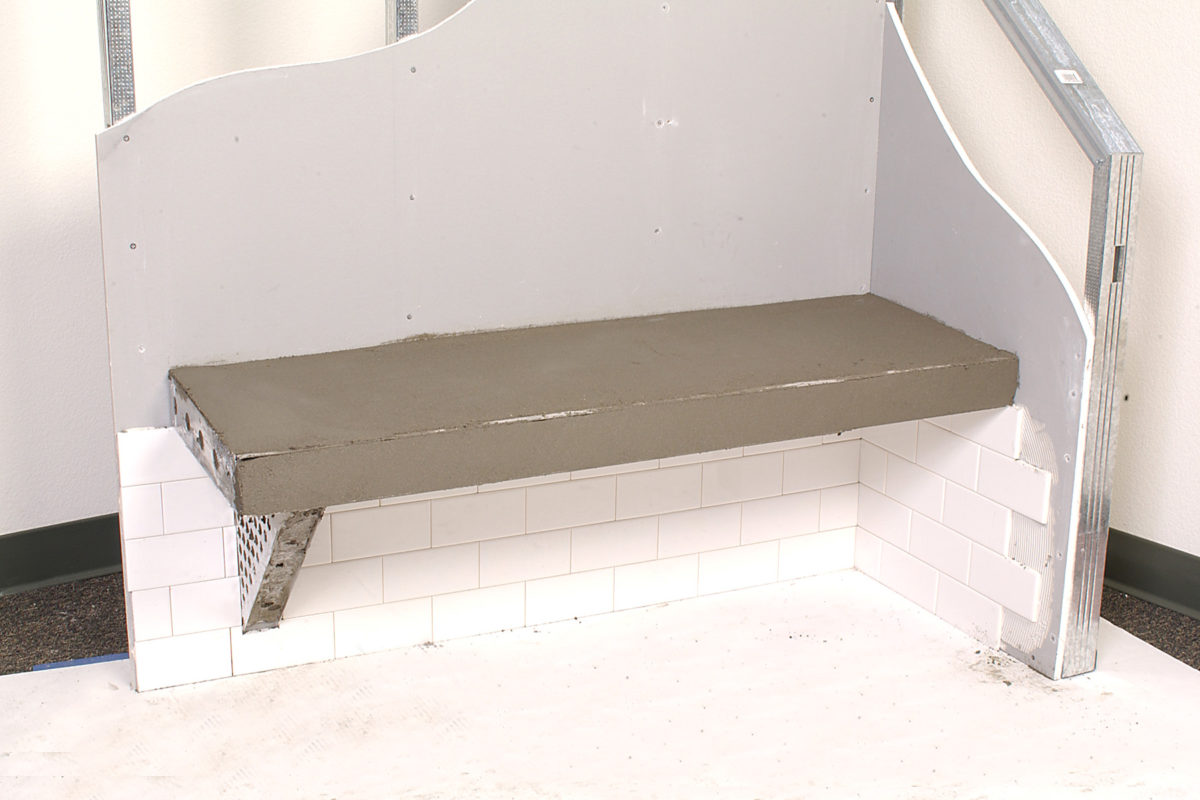
The Adjustable bench (ADJR) unit is designed for use in pre-tiled and post-tiled application over UBC approved tile backing systems.  The adjustable range is up to 63″.  If the unit is expanded beyond 36″ AND/OR an open-ended installation is being considered, BT-17S OR Invisabolt supports are required!

BB-ADJR is suitable for mounting directly to the face of the tile substrate (ultimate method), or after finish tile is installed.  Wood blocking is not required unless INVISABOLT mounting supports are being used in the installation.


Using the Invisabolt support system allows for a “floating” bench look without the need for visible supports underneath the bench!


TO DETERMINE SUPPORT REQUIREMENT FOR ADJR :

  • Mounting wall to wall up to 36″: No additional support required
  • Mounting wall to wall up to 63″: One(1) BT-17S centered in span OR Two(2) Invisabolt supports
  • Mounting on a back wall and one side wall up to 36″: One(1) BT-17S within 6″ of open-end OR 2 Invisabolt supports
  • Mounting on a back wall and one side wall up to 63″: Three(3) Invisabolt supports required
  • Mounting with no side support up to 36″: Two(2) Invisabolt supports required
  • Mounting with no side support up to 48″: Three(3) Invisabolt supports required
  • Mounting with no side support up to 63″ max span: Four(4) Invisabolt supports required

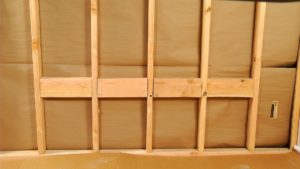
*** 4×6 Minimum structural wood blocking must be installed flush to the front face of studs before placement of tile substrate when using the Invisabolt Support system***


Frequently Asked Questions

Can this bench really hold the weight?

YES!  Better-Bench products have a structurally engineered 400 lb (OR 100 lb for the BT-17) live load capacity without the need to connect directly to the wood framing inside the wall.


How can I be sure?

Over 10 years of successful installations performed by professional contractors and homeowners alike provides a high level of assurance. This capability is achieved through the engineering of “shear force” rather than pull-out or “tension” loading. For instance, you may be familiar with the ease of pulling a fixture of some sort out of a wall when attached with hollow wall anchors in 1/2″ gyp board. Have you ever tried to push that fixture straight down? Our suggestion is to try one—you will be amazed!

What do I fill it with?

A “dry pack” deck mortar is used to fill the bench.  Do NOT use Thin-Set mortar! The mix ratio of the described mortar is 4 parts sand to 1 part cement – you may also use a pre-bagged mortar mix which is available at many of the tile locations that stock Better-Bench products.  Additionally, you will find this mix at lumber yards, hardware stores, Home Depot, Lowes, etc. under the common name of mason mix, brick mortar, or deck mud.  You will be adding just enough water to allow you to “chop” (a garden hoe works best!) the mixture to consistency that allows you to pick up a handful and shape it into a ball without getting it all over your hands.  Be sure to blend the mixture to the point that all dry powder pockets have been eliminated.

Then what?

Fill the entire bench with the mortar, and pack it tight as you go with a wood float, block of wood or even a steel trowel.  Make sure the material is in all corners completely.  Allow the mortar to build up about 1/4 – 3/8 of an inch along the back wall(s) of the unit and screed it flush to the front lip to provide adequate drainage of the horizontal surface (this is not necessary in “dry” areas).  Then add a small amount of water to the remaining mix to make it a little bit stickier.  You will then apply this mix to the front face and screed it flush with the top and bottom edge of the channel.  allow the unit to set sufficiently prior to beginning your tile process.

Do I need to connect to wood studs or install blocking?

No! Better-Bench products are designed to meet a 400 LB load capacity by using the supplied hollow wall anchors.  However, wood framing members may be encountered during installation, or the installer may just feel more “comfortable” connecting to framing.  If this is the case, discard the hollow wall anchors and use the pan screws that are also provided.

The Adjustable bench (ADJR) is suitable for mounting directly to the face of the substrate (ultimate method), or after finish tile has been installed.  Wood blocking is not required unless INVISABOLT mounting supports are being used in the installation.

What type of backing (substrate) do I need?

Better-Bench products are designed to be mounted over a U.B.C. (Uniform Building Code) or T.C.A. (Tile Council of America) approved tile substrate.

The list includes such materials as:

  • Cementitious based substrates
  • Wonderboard
  • Hardibacker
  • Durarock or mortar bed installations
  • Gypsum based substrates
  • Denshield, Green board, or standard sheet rock (in dry areas)

As well as over alternative mounting methods:

  • Schluter Ditra
  • Wedi board
  • or any other building code approved surfaces


When should I install the bench, before I start tiling?

Better-Bench products are extremely adaptable systems.  You may install the product over the finish tile at any time, however, the optimum method would be to mount the product directly to the face of the substrate.  This may be done before you begin tiling the wall, or for additional advantage, you may begin tiling and then when you get to the course of tile where you wish to mount the bench, take a few moments and mount the bench at this time.  Then finish your wall tile and fill and tile the bench at the end  (this method may save a few cuts of tile and eliminates the need to reach under the bench to lay tile).

If you are using the Adjustable bench unit in combination with the Invisabolt support system, pre-installation of a minimum of 4×6 wood blocking prior to the substrate going up is REQUIRED.  Please refer to the Adjustable Bench product installation instructions or contact us directly for further assistance.

Do I tile the bottom?

It is not necessary to tile the bottom of the BB-30, BB-24, or ADJR bench.  It is mounted down the low and therefore the bottom is not visible.  The alloyed aluminum will not rust or corrode, and it leaves a smooth metal surface exposed that will not harbor mold or mildew growth, as well as it is easy to clean.  you may tile the bottom, if desired, by using a metal bonding tile mastic, or by simply screwing a piece of backer board substrate material to the bottom if the bench with galvanized flathead screws.  Remember, you must leave the weep hole clear of any obstruction so that any penetrating moisture will be able to escape from the interior of the bench.

If you are using the BT-17 or BT-17S, we do require that you tile the underneath of the bench.  The BT-17 was designed to be used as a shelf and is therefore installed at a higher level than the bench seats, hence leaving the bottom visible.  You will notice this size has several holes in the tray, which is designed to allow the mortar mix to slightly penetrate through, in turn providing a surface for the tile to adhere to.

Do I need additional waterproofing?

No! Better-Bench products are designed to mount in a manner that do not require additional waterproofing membranes, nor will it compromise the membranes in the wall.  Waterproofing is accomplished by injecting a small amount of caulk in the screw locations prior to their insertion.  Additionally, you will apply a bead of caulk over the top most edge of the bench unit where it meets the wall.  This will divert any moisture that has penetrated the grout anywhere above the bench line, into the bench itself, and away from the screw locations.  Caulk may be added around the fastener heads inside the bench for additional assurance against water penetration at the screw locations.

Does the mortar eat away the aluminum?

Our products are produced of an “alloyed” aluminum which is engineered and suitable for a direct mortar contact.  Etching of the aluminum does occur and is considered a normal reaction upon mortar contact.  In some instances, usually if excessive moisture is allowed to penetrate the finished unit through grout transmission, or if the initial mix is too “wet”, this reaction may continue to cause unsightly staining of the aluminum.  it is therefore recommended that the mix ratio and water content be carefully observed during installation, and that the tiled top surface of the bench be sealed with a commercially available grout sealer.  Generally, the sealers are recommended for all tile and grouted surfaces and are easily applied and relatively inexpensive to acquire.

Are the units A.D.A compliant? *

The physical size and shape of our adjustable bench model meets or exceeds A.D.A. minimum requirements, however, one aspect of the A.D.A. guidelines calls for the bench to be of a folding type.  We are unsure as to the need for that particular aspect and therefore recommend you check with your local building department for further information regarding A.D.A. compliance issues and available variance options that may be available for your specific project.

Can the Adjustable bench be cut down?

YES!  The adjustable bench can be cut down to achieve a size smaller than 33.5″.  To do this, simply slide the two pieces apart, and using a metal cutting blade, cut equal parts off of both pieces to achieve desired length.  Then slide the two pieces back together and proceed with installation.

Product Gallery

Click to open expanded view

Order # Product Name Description Dimension/Capacity
BB-ADJR Adjustable Bench Rectangular bench. Required fasteners are supplied. 3" x 14.5" x 33.5-63" 400 LB load capacity
Invisabolt Invisabolt Support system For use with BB-ADJR 3/4" x 17.5"
BT-17S Mid point corbel support For use with BB-ADJR. Required if BB-ADJR spread exceeds 36"